A Comprehensive Guide to SPDK Installation and NVMe-oF Target Setup

Introduction
One of the prominent features of SPDK is its support for NVMe over Fabrics (NVMe-oF), which extends the NVMe protocol over network fabrics like TCP, RDMA, and Fibre Channel. NVMe-oF enables efficient, high-speed communication between storage devices and hosts across a network, making it ideal for modern data centers and cloud environments.
In this comprehensive guide, we'll walk you through the process of installing SPDK on a Linux system and setting up an NVMe-oF target using TCP transport. We'll also look into mDNS discovery using SPDK's RPC commands, providing detailed explanations for each step to ensure you have a clear understanding of the process.
Prerequisites
Before we begin, ensure your system meets the following requirements:
- Operating System: A Linux-based OS (For this guide, we have used Ubuntu).
- Permissions: Root or sudo privileges
- Network Configuration: Proper network setup to facilitate NVMe-oF communication
Installation Steps
Let's dive into the installation process, which involves cloning the SPDK repository, installing dependencies, configuring SPDK, and setting up the environment.
1. Clone the SPDK Repository
First, clone the SPDK repository along with its submodules to your local machine:
$ git clone https://github.com/spdk/spdk --recursive
Explanation: This command clones the SPDK Git repository into a directory named spdk. The --recursive flag ensures that all submodules associated with the SPDK project are also cloned, which is essential for building SPDK successfully.

2. Install Dependencies
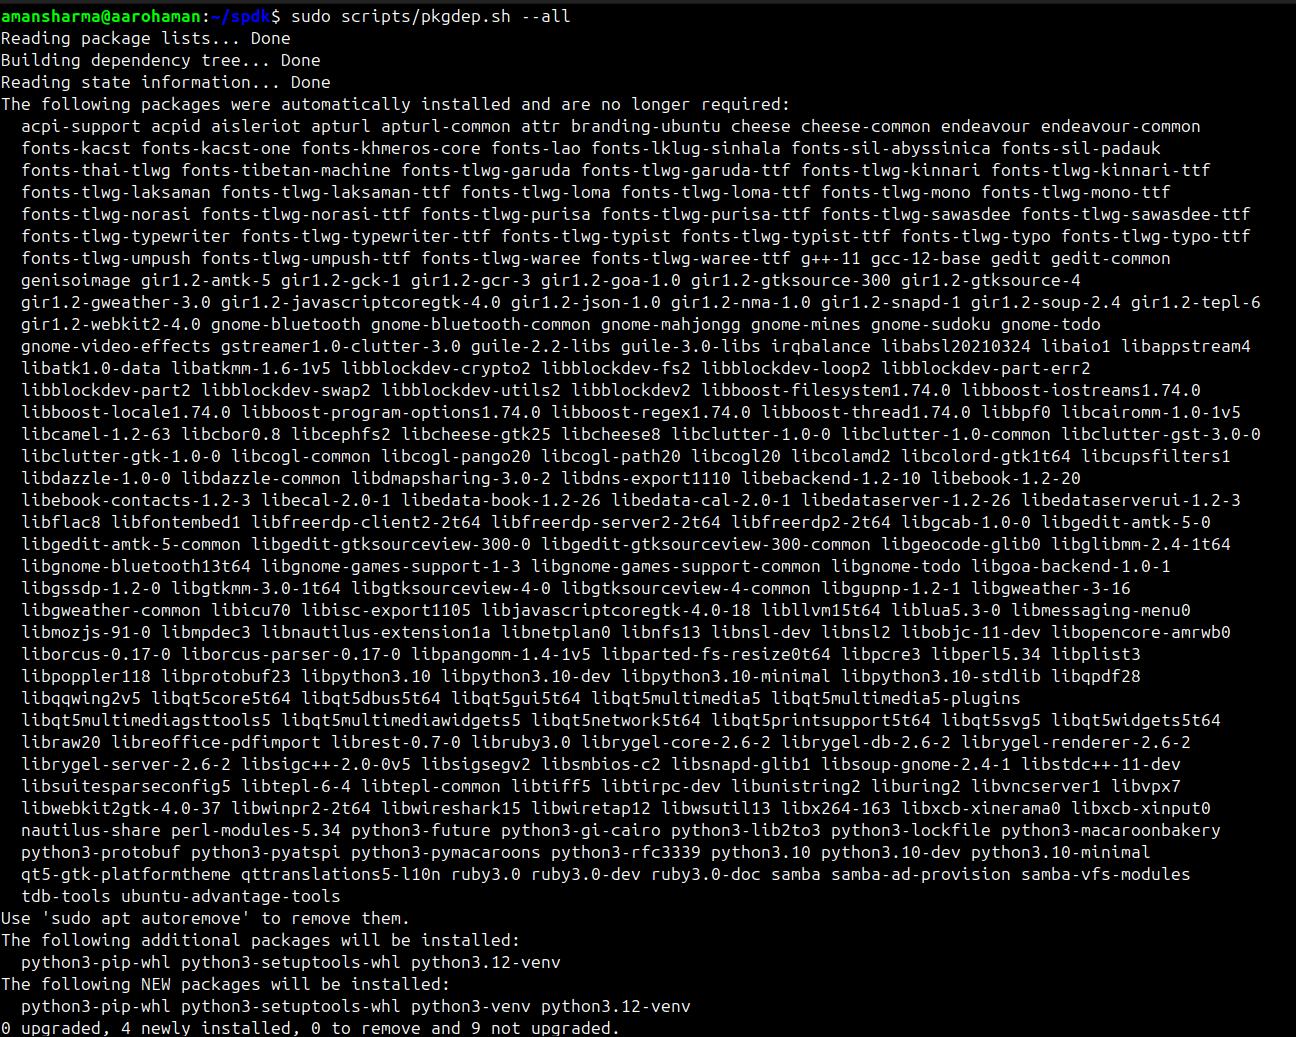
Navigate to the cloned spdk directory and run the package dependency script:
$ cd spdk
$ sudo scripts/pkgdep.sh --all
Explanation: The pkgdep.sh script automatically installs all the necessary dependencies required to build and run SPDK. The --all flag ensures that optional dependencies are also installed, providing full functionality.
3. Configure SPDK with Avahi
Configure SPDK to enable mDNS support using Avahi:
$ sudo ./configure --with-avahi
Explanation: The configure script prepares the build configuration for SPDK. The --with-avahi option includes Avahi support, which is necessary for mDNS (Multicast DNS) service discovery, allowing devices to find each other on the network without prior configuration.

4. Build SPDK
Compile the SPDK source code:
$ sudo make
Explanation: The make command builds SPDK using the configuration specified earlier. This process compiles all libraries and applications included in SPDK.
5. Set Up the Environment
Set up the environment to allocate hugepages and bind NVMe devices:
$ sudo scripts/setup.sh
Explanation: The setup.sh script allocates hugepages (memory pages larger than the default size), which are essential for high-performance I/O operations in SPDK. It also binds NVMe devices to the user-space driver if any are present.
NVMe-oF Target Configuration
With SPDK installed, we can now configure an NVMe-oF target that allows remote hosts to access NVMe devices over a network.
1. Start the NVMe-oF Target
Launch the NVMe-oF target application:
$ sudo build/bin/nvmf_tgt -e 0x20 &
Explanation: The nvmf_tgt application is the SPDK NVMe-oF target process. The -e 0x20 flag enables specific tracepoints for debugging purposes. In this case, 0x20 corresponds to enabling the nvmf_tcp tracepoint group. The & at the end runs the process in the background.

2. Create the NVMe-oF Transport
Create a TCP transport with specific options:
$ sudo scripts/rpc.py nvmf_create_transport -t TCP -u 16384 -m 8 -c 8192
Explanation:
nvmf_create_transport: RPC command to create a new NVMe-oF transport.-t TCP: Specifies the transport type as TCP.-u 16384: Sets the maximum number of unqueued I/O requests (io_unit_size).-m 8: Sets the maximum number of I/O queue pairs per session (max_io_qpairs_per_ctrlr).-c 8192: Sets the maximum I/O queue depth (max_queue_depth).
This command configures the transport layer parameters for the NVMe-oF target using TCP.

3. Create a RAM Disk Block Device
Create a malloc (in-memory) block device for testing:
$ sudo scripts/rpc.py bdev_malloc_create -b Malloc0 512 512
Explanation:
bdev_malloc_create: RPC command to create a malloc block device.-b Malloc0: Assigns the name "Malloc0" to the block device.512 512: Specifies the block size (512 bytes) and the number of blocks (512), resulting in a 256 KB device.
This creates a virtual block device in memory, useful for testing without physical NVMe hardware.

4. Create the NVMe-oF Subsystem
Define a new NVMe-oF subsystem:
$ sudo scripts/rpc.py nvmf_create_subsystem nqn.2016-06.io.spdk:cnode1 -a -s SPDK00000000000001 -d SPDK_CDC
Explanation:
nvmf_create_subsystem: RPC command to create a new NVMe-oF subsystem.nqn.2016-06.io.spdk:cnode1: The NQN (NVMe Qualified Name) uniquely identifies the subsystem.-a: Allows any host to connect to this subsystem.-s SPDK00000000000001: Sets the serial number of virtual controller.-d SPDK_CDC: Provides a human-readable description.
This subsystem acts as a container for NVMe namespaces and configurations.
5. Add the Namespace to the Subsystem
Attach the malloc block device to the subsystem:
$ sudo scripts/rpc.py nvmf_subsystem_add_ns nqn.2016-06.io.spdk:cnode1 Malloc0
Explanation:
nvmf_subsystem_add_ns: RPC command to add a namespace to a subsystem.nqn.2016-06.io.spdk:cnode1: Specifies the target subsystem.Malloc0: The block device to be added as a namespace.
This makes the "Malloc0" block device accessible through the NVMe-oF subsystem.
6. Add a Listener to the Discovery Subsystem
Enable remote hosts to discover the NVMe-oF target:
$ sudo scripts/rpc.py nvmf_subsystem_add_listener nqn.2014-08.org.nvmexpress.discovery -t tcp -a 192.168.1.30 -s 8009
Explanation:
nvmf_subsystem_add_listener: Adds a listener address to a NVMe-oF subsystem.nqn.2014-08.org.nvmexpress.discovery: The standard discovery subsystem NQN.-t tcp: Specifies the transport type.-a 192.168.1.30: The IP address of the NVMe-oF target.-s 8009: 8009 port number of CDC.
This command allows clients to discover the available NVMe subsystems on the target.
7. Add a Listener to the NVMe-oF Subsystem
Add a listener to the specific subsystem we created:
$ sudo scripts/rpc.py nvmf_subsystem_add_listener nqn.2016-06.io.spdk:cnode1 -t tcp -a 192.168.1.30 -s 8009
Explanation:
- This is similar to the previous command but targets the custom subsystem
nqn.2016-06.io.spdk:cnode1.
By adding a listener, we make the subsystem accessible over the network.
NOTE:The target is now fully configured and ready to use. To access this target from the host, you can follow the steps and commands outlined in Blog 2: Introduction to NVMe-oF (NVMe over TCP) Target Setup and Related nvme-cli Commands.
This completes the SPDK target setup. After this, we are using the created target as a Central Discovery Controller (CDC) to find and connect to other targets using mDNS.
mDNS Discovery Commands
Multicast DNS (mDNS) allows devices to discover services on a local network without a centralized DNS server. SPDK leverages mDNS for NVMe-oF discovery.
1. Start mDNS Discovery
Initiate mDNS discovery for a specific service and NQN:
$ sudo scripts/rpc.py bdev_nvme_start_mdns_discovery -b CDC_auto -s _nvme-disc._tcp -q nqn.2014-08.org.nvmexpress:uuid:bec2fdff-6382-45c6-b1ea-1539ed1d75aa
Explanation:
bdev_nvme_start_mdns_discovery: Starts mDNS discovery.-b CDC_auto: Specifies the prefix for NVMe discovery services as "CDC_auto".-s _nvme-disc._tcp: Specifies the service type for NVMe discovery over TCP.-q nqn...: The NQN of the host discovery subsystem.
This command enables automatic discovery of NVMe-oF targets on the network.
2. Stop mDNS Discovery
Terminate mDNS discovery:
$ sudo scripts/rpc.py bdev_nvme_stop_mdns_discovery -b CDC_auto
Explanation:
bdev_nvme_stop_mdns_discovery: Stops the mDNS discovery process for the specified controller.
3. Get mDNS Discovery Information
Retrieve details about ongoing mDNS discovery:
$ sudo scripts/rpc.py bdev_nvme_get_mdns_discovery_info
Explanation:
bdev_nvme_get_mdns_discovery_info: Displays information about current mDNS discovery sessions, including discovered services and endpoints.

4. Get NVMe-oF Subsystems
List all configured NVMe-oF subsystems:
$ sudo scripts/rpc.py nvmf_get_subsystems
Explanation:
nvmf_get_subsystems: Retrieves details of all NVMe-oF subsystems, useful for verifying configurations.

Tracing with SPDK
Tracing is vital for debugging and performance tuning. SPDK provides a tracing tool to monitor operations.
Trace an NVMe-oF Process
Run the tracing tool:
$ sudo build/bin/spdk_trace -s nvmf -p <pid>
Explanation:
spdk_trace: The tracing utility.-s nvmf: Specifies the subsystem to trace (NVMe-oF).-p <pid>: The process ID of the nvmf_tgt application.
This command outputs real-time tracing information, helping identify bottlenecks or issues.
Additional Tips and Best Practices
- Use Dedicated Cores: For optimal performance, dedicate CPU cores exclusively to SPDK by adjusting the core mask.
- Hugepages Configuration: Ensure you have sufficient hugepages allocated. You can adjust the number in
scripts/setup.sh. - Security Considerations: When allowing any host to connect (-a flag), be cautious in production environments. Restrict access to known hosts for security.
- Persistent Storage: While malloc devices are great for testing, use actual NVMe devices for production to leverage SPDK's full potential.
- Logging and Monitoring: Regularly monitor logs and use SPDK's built-in tools to maintain a healthy storage environment.
Conclusion
Congratulations! You've successfully installed SPDK and set up an NVMe-oF target over TCP. By following this guide, you now have a high-performance storage solution that can be accessed over the network with minimal latency. Understanding each command and its purpose not only helps in setting up but also in troubleshooting and scaling your storage infrastructure.
SPDK's flexibility and efficiency make it a powerful tool for modern storage requirements. As you continue exploring SPDK, you'll discover more advanced features like the Central Discovery Controller (CDC), which we'll cover in our next blog.
Additional Resources
- SPDK Documentation: SPDK Official Docs
- JSON-RPC Commands: SPDK JSON-RPC Guide
Next Topic: Stay tuned for our next article, where we'll delve into the Central Discovery Controller (CDC) and learn how it simplifies management in large-scale NVMe-oF deployments.
Contributors
Principal Engineer | ASIC Design Verification | Storage and Silicon Enthusiast
Prajakta Rohom is an experienced Principal Engineer working with Aaroh Labs for the last 4 years with a knack for tackling complex silicon challenges. Prajakta has a track record of 18+ years in semiconductor design verification and a current focus on storage solutions.
Engineer-1 | Storage Systems Developer
Aman Sharma is an Engineer at Aaroh Labs with 2+ years of experience, driving advancements in storage
Recent Posts
-
 Apr 2nd, 2025
Simplifying NVMe over Fabrics with Centralized Discovery Controllers (CDC)
By: Aaroh Labs -
-
 Dec 24th, 2024
Introduction to NVMe-oF (NVMe over TCP) Target Setup and Related nvme-cli Commands
By: Aaroh Labs -
